본문으로 바로가기

레이아웃 클래스 선언

category 소프트웨어/kivy 2020. 11. 3. 18:21
728x90
반응형

다음은 레이아웃 클래스를 정의하고 사용하는 예제이다.


 1
 2
 3
 4
 5
 6
 7
 8
 9
10
11
12
13
14
15
16
17
18
19
20
21
22
from kivy.app import App
from kivy.uix.boxlayout import BoxLayout
from kivy.uix.label import Label
from kivy.uix.button import Button

class MyLayout(BoxLayout):
    #You don't need to understand these 2 lines to make it work!
    def __init__(self, **kwargs):
        super(MyLayout, self).__init__(**kwargs)
        
        self.orientation="vertical"
        mylabel = Label(text= "My App")
        self.add_widget(mylabel)
        mybutton =Button(text="Click me!")
        mybutton.bind(on_press= lambda a:print(mylabel.text))
        self.add_widget(mybutton)
        
class TutorialApp(App):
    def build(self):
        return MyLayout()

TutorialApp().run()

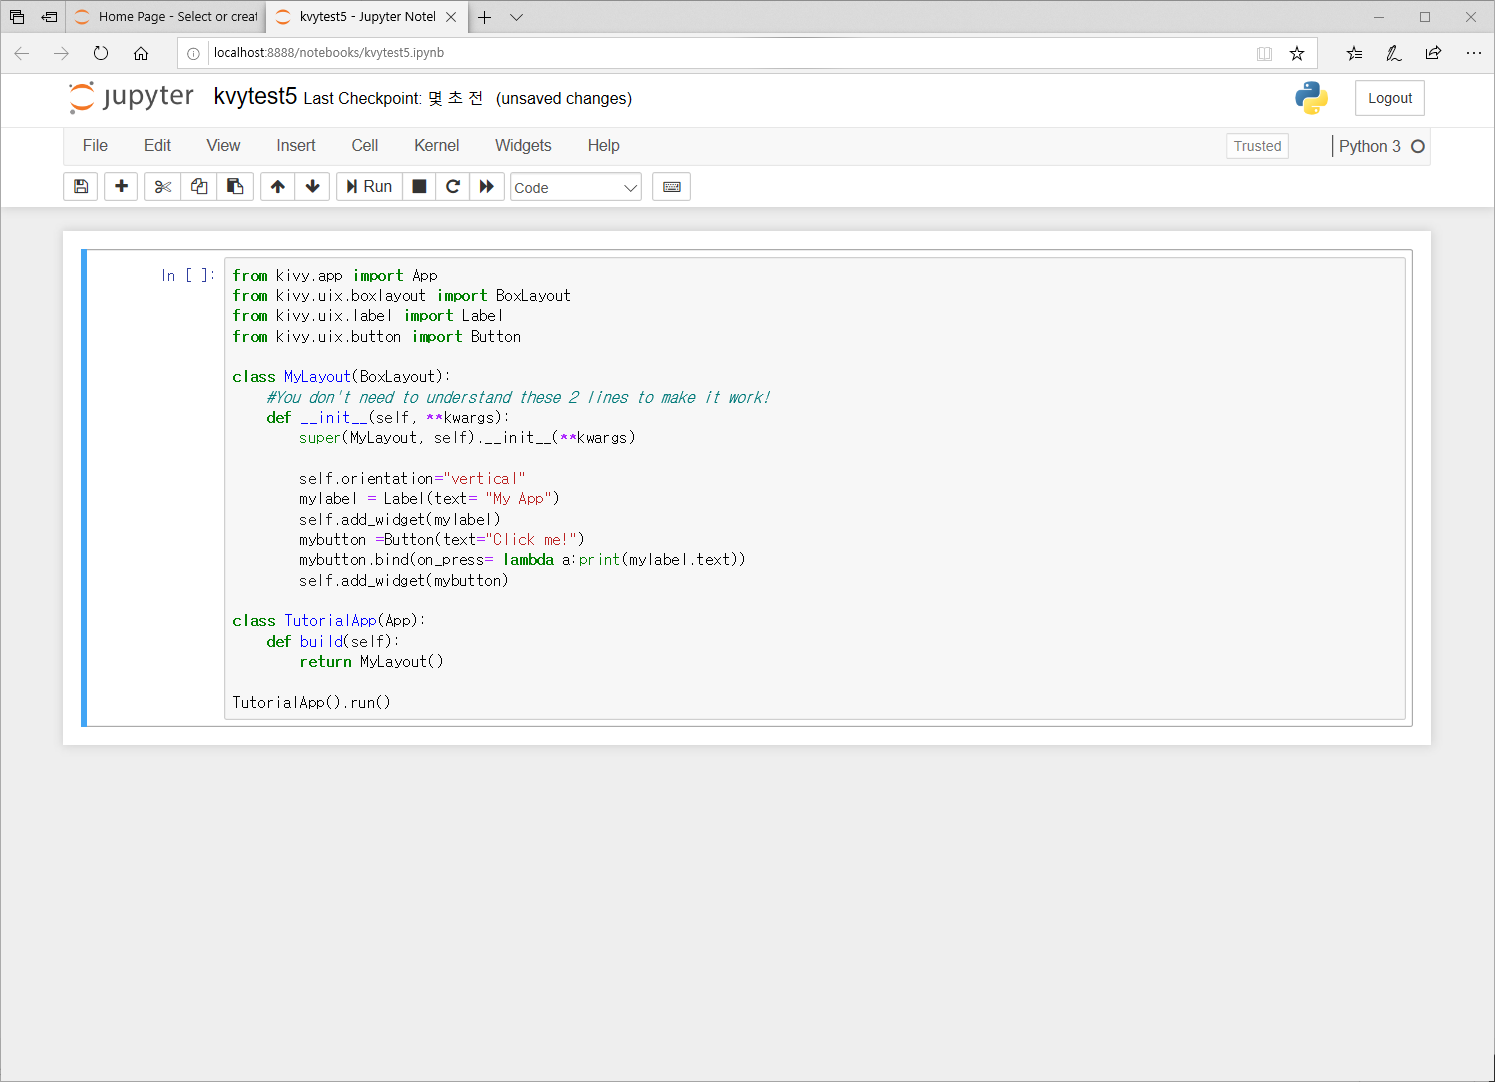
MyLayout의 박스 레이아웃 클래스를 선언하고 내부에 레이블 객체와 버튼 객체를 정의한 후 위젯에 추가한다. 또한 버튼 이벤트도 등록한다. 이렇게 생성한 클래스를 호출하여 사용한다.


아래의 그림은 notebook에 소스를 입력한 것이다.


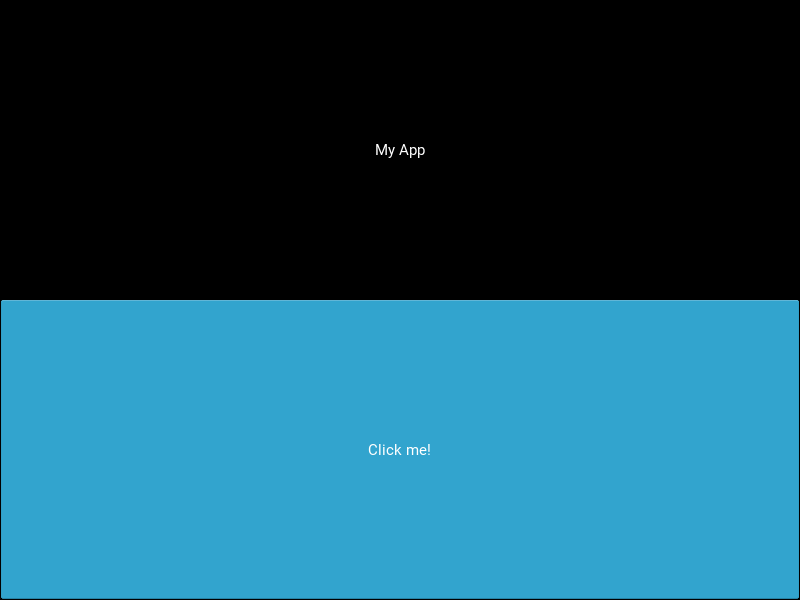
아래 그림들은 실행결과를 나타낸 것이다.


728x90
반응형